Building a Repeatable Headphone Measurement Rig from a $2.99 Thrift Store Find
Like most people who enjoy chasing the “budget audiophile” dragon, my audio journey involves a lot of hunting. Whether it’s haggling for a $125 pair of Sony MDR-Z7M2s at a local pawn shop or rescuing classic gear destined for the landfill, I enjoy discovering just how much performance can be extracted from overlooked hardware.
My latest project started with a wild gamble.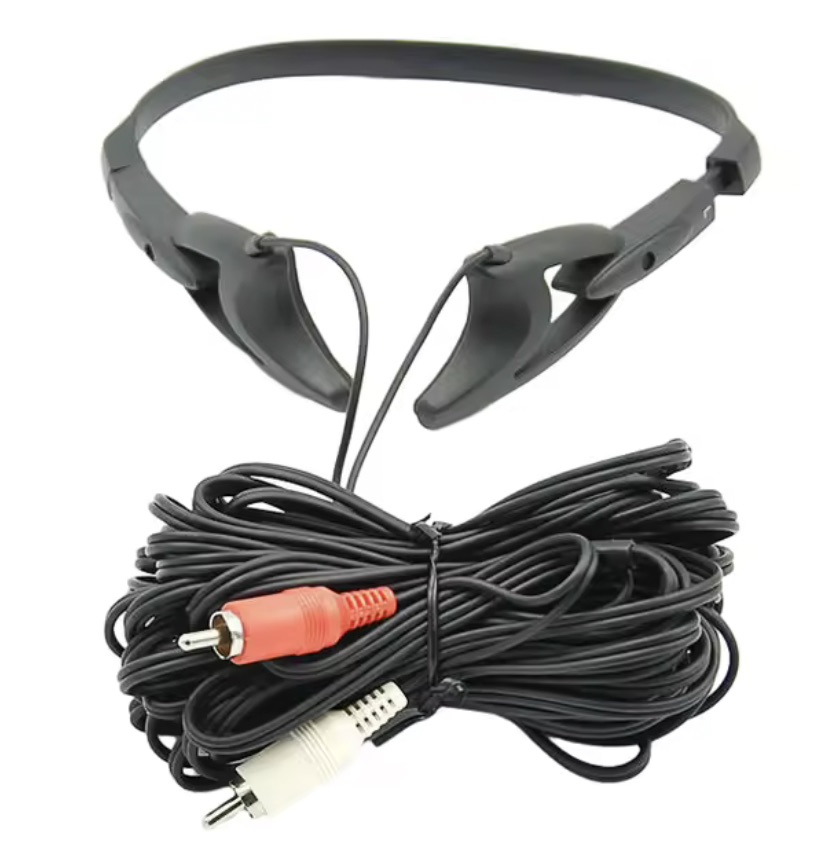
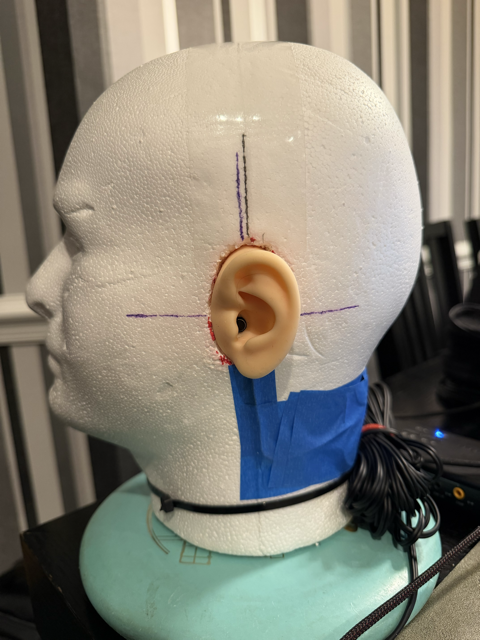
After finding a Bose AdaptIQ home theater calibration kit at a thrift store for $2.99, I wondered if the dual microphone capsules could become the heart of a repeatable headphone measurement fixture. After removing the microphones from the original headset, I mounted them inside a styrofoam mannequin head and set out to see just how useful a “poor man’s” headphone measurement rig could become.
The Goal Wasn’t to Build a Cheap GRAS Fixture
One realization shaped this entire project: the goal wasn’t to build a cheap version of a professional measurement fixture. The goal was to see if I could build a repeatable one.
Professional systems spend thousands of dollars reproducing the acoustic properties of the human ear. I knew I wasn’t going to duplicate that with a craft-store mannequin head. Instead, my initial objective became understanding the systematic errors of my own fixture well enough that they could perhaps be mathematically compensated.
The Hardware Bottleneck
My first attempt used a Yamaha MG10XU mixer connected to Room EQ Wizard (REW) over USB. On paper it looked like the ideal solution. Instead, I quickly discovered an internal digital routing problem. REW generated the sweep on my MacBook Pro, the mixer received it over USB, and then routed that same digital signal directly back to the recording input. REW wasn’t hearing the microphones—it was simply measuring its own output, producing an almost perfectly flat response.
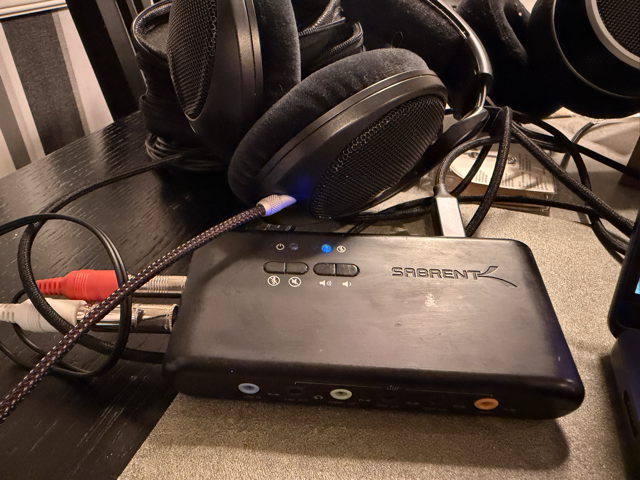
After hours of experimenting with Audio MIDI settings and mixer routing, I abandoned the more complicated approach. The solution turned out to be simple. I used an old inexpensive Sabrent USB audio adapter exclusively for microphone input while sending the REW test sweeps directly through the MacBook Pro’s headphone output. The digital loopback disappeared immediately.
For the first time, REW was actually measuring the Bose microphones.
Attempting to Calibrate Without Laboratory Equipment
Most DIY measurement projects stop when REW asks for microphone calibration or SPL reference data. I didn’t own a laboratory reference microphone or an external SPL calibrator, so I needed another approach.
The raw measurements behaved exactly as expected from a homemade fixture. Bass and lower midrange were reasonably consistent, while the upper mids and treble showed the massive influence of microphone placement, the lack of a standardized ear simulator, and the simplified ear geometry of the mannequin head.
To characterize these errors, I initially selected five headphones representing different acoustic designs (youtube review links):
- Sennheiser HD600 (Source: Pawn Shop – Used)
- Sony MDR-MV1 (Source: Amazon – Used)
- Sony MDR-Z7M2 (Source: Pawn Shop – Used)
- Audio-Technica ATH-M50x (Source: Amazon Prime Day July 2015 – New)
- FiiO Jade Audio JT7 (Source: Bloom Audio – New)
For each headphone, I performed five complete measurements, removing and reseating the headphone between every sweep to average out placement variability. I aligned these averages with published reference measurements from the PEQdB database at 1 kHz, then used REW’s Trace Arithmetic to isolate the delta between my rig and the real world. By RMS-averaging these curves, I generated a master calibration file: Master_Mannequin_Rig.cal.
The Rabbit Hole and the Reality Check
When I loaded the calibration file, the initial results for a test headphone looked surprisingly decent on paper. Tonal balances leveled out, and the curve generally tracked the reference.
But this is where the project hit a dangerous crossroads. The AI assistant helping me guide the calibration process immediately wanted more data. It wanted me to measure more headphones (which I added another seven for a total of 12), post back more results, and run endless reference iterations to try and tweak the calibration file into perfection. It became clear that trying to mathematically force a styrofoam head and home theater mics to emulate a industry-standard laboratory rig was a rabbit hole that could easily consume the rest of my days.
That’s when I took a step back and realized a fundamental truth: this test rig was a fantastic learning experience, but it is never going to be a real measurement rig.
No amount of software compensation or endless measuring can bridge the gap between a DIY hobby project and a professional fixture. There are five critical, physical components that make a real headphone measurement rig work—none of which can be replicated by a thrift-store hack:
-
- Recognized, Industry-Standard Pinnae: Real rigs use artificial ears molded to highly specific geometric and durometer (hardness) standards, such as the ITU-T P.57 or IEC 60318-4 specifications. The shape and flexibility of the human outer ear drastically alter how sound waves reflect and bend into the ear canal, especially in the treble. A smooth styrofoam head completely lacks this acoustic behavior.
- Calibrated, Standardized Microphones: Professional measurement microphones have perfectly flat, laboratory-certified frequency responses and known acoustic impedances. Home theater calibration mics like the AdaptIQ are built to a budget and designed to measure room acoustics from several feet away, not high-pressure acoustic chambers millimeters from a headphone driver.
- An IEC-Compliant Ear Canal and Coupler: A real rig doesn’t just put a mic flush against a surface. It features an engineered acoustic coupler that mimics the physical volume, resonant frequency, and acoustic impedance of the human ear canal. Without this, the air pressure interactions between the headphone driver and the microphone are fundamentally incorrect.
- Adjustable and Standardized Head Geometry: Professional fixtures allow you to adjust clamp pressure, width, and seal conditions precisely. A static wig stand doesn’t account for the clamping force of different headbands, which completely dictates how a headphone pads seal and, consequently, how the bass responds.
- Acoustic Isolation and Mass: True measurement heads are dense, heavy, and acoustically isolated to ensure environmental room noise doesn’t bleed into the test sweeps. Styrofoam is a lightweight, resonant material that allows external sound to pass right through it, contaminating the noise floor of the measurement.
The Final Verdict
Is this DIY project a failure? Absolutely not. It was an incredibly fun, cheap experiment that taught me volumes about REW, trace arithmetic, and the complex nature of audio testing. Hats off to Crinacle and others like Solderdude who have been providing measurements for many years.
For a hobbyist who might only buy one new pair of headphones a year and prefers scrounging pawn shops and marketplaces to build a collection, spending a lot of money on a miniDSP EARS or a professional GRAS system makes no sense—especially when brilliant databases like AutoEQ, squig.link, and PEQdB already exist online.
My $2.99 Bose-mannequin hybrid will never be a laboratory tool, and I’m officially stepping off the calibration treadmill. But for a weekend and several nights project built out of scrap parts for the past week, it stands as a fun monument to audio curiosity.
But I Didn’t Give Up!
Trying to mount silicone ears on Styrofoam is not easy. On the first version of the rig, I eventually gave up and secured the ears with screws.
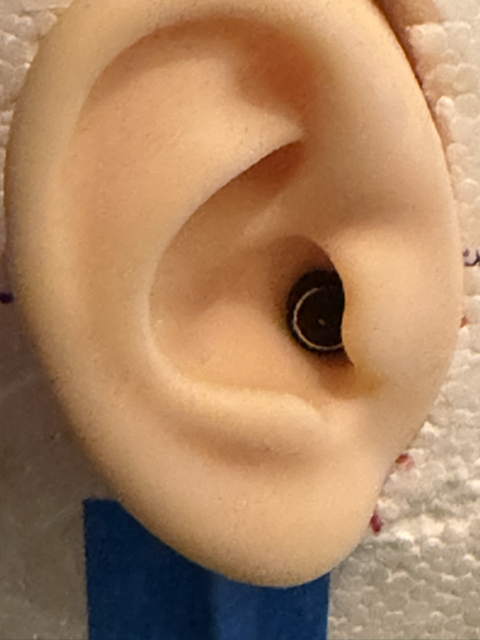
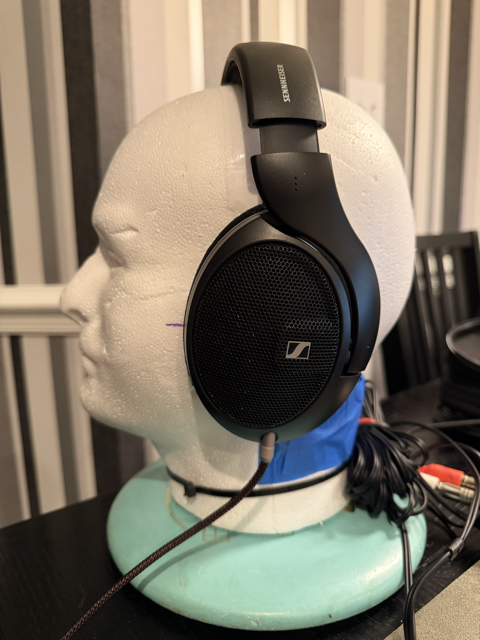
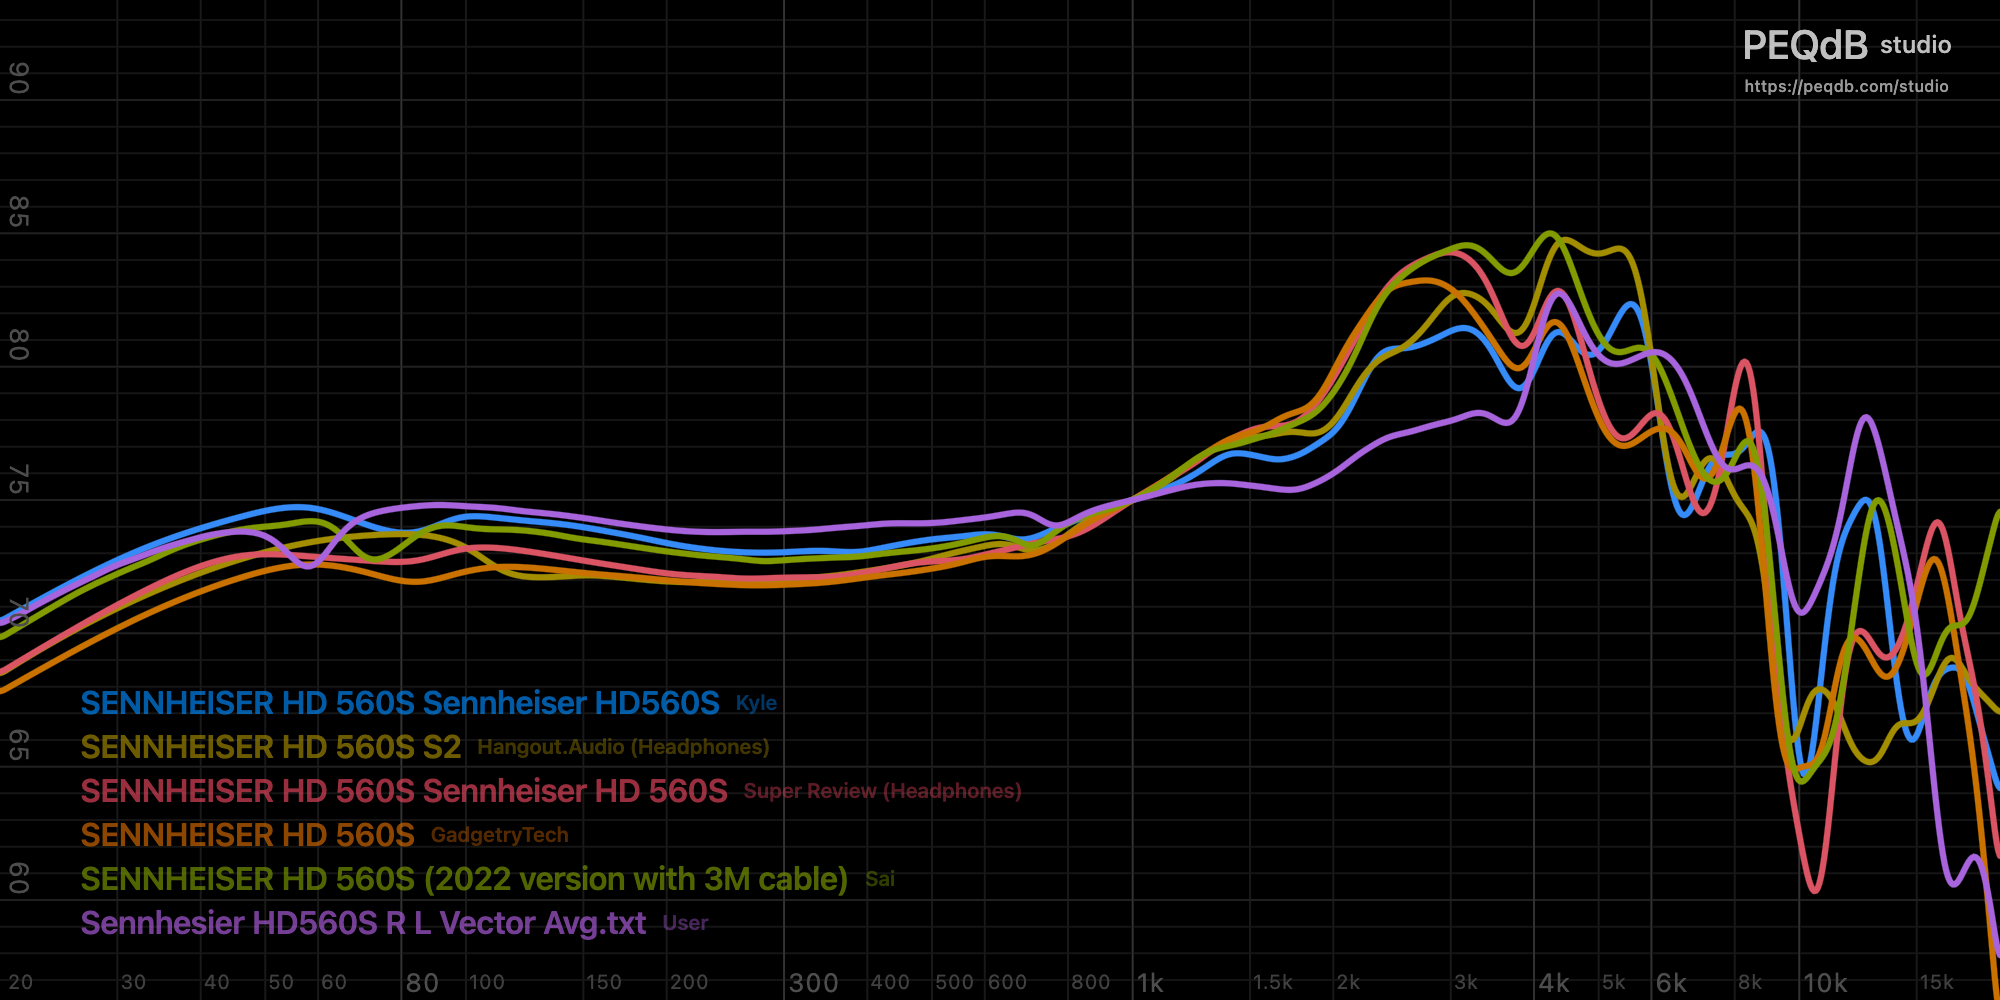
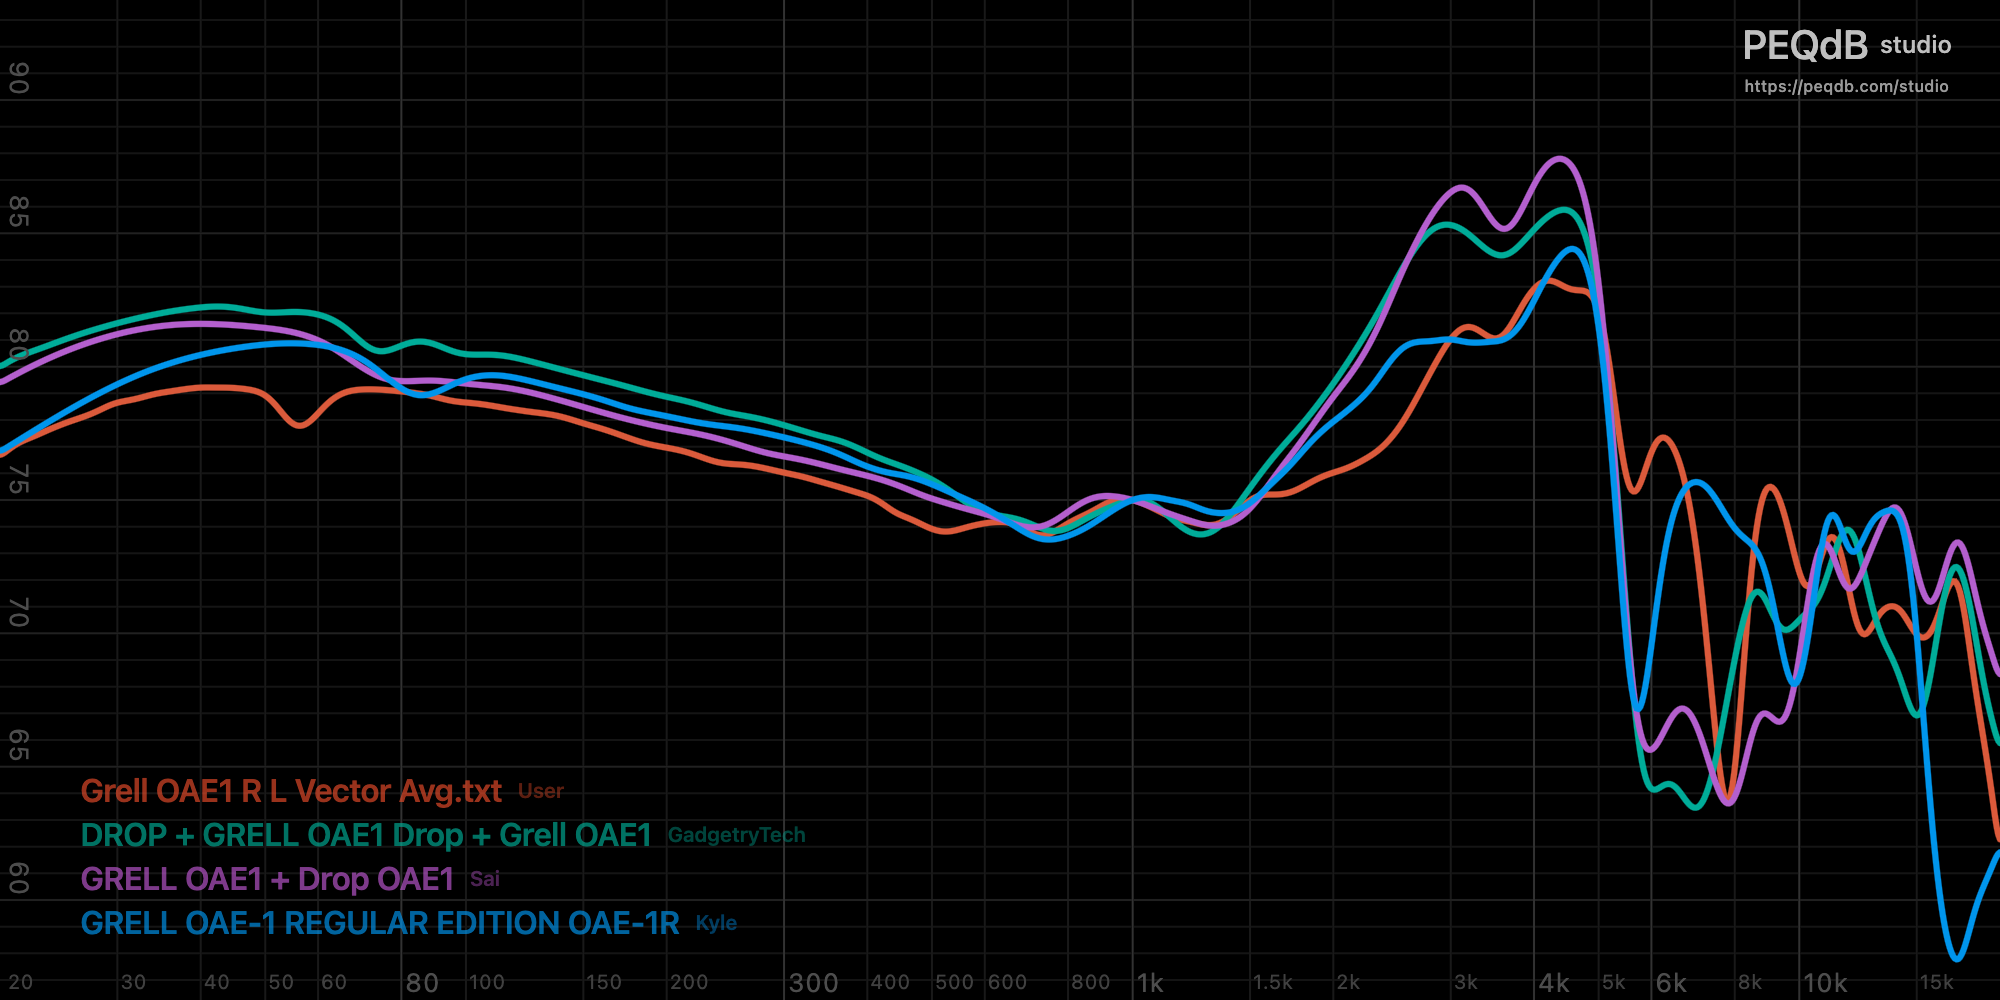
I had another pair of silicone ears from Amazon that I had planned to return because they seemed unusually small. However, the ears I used initially were too 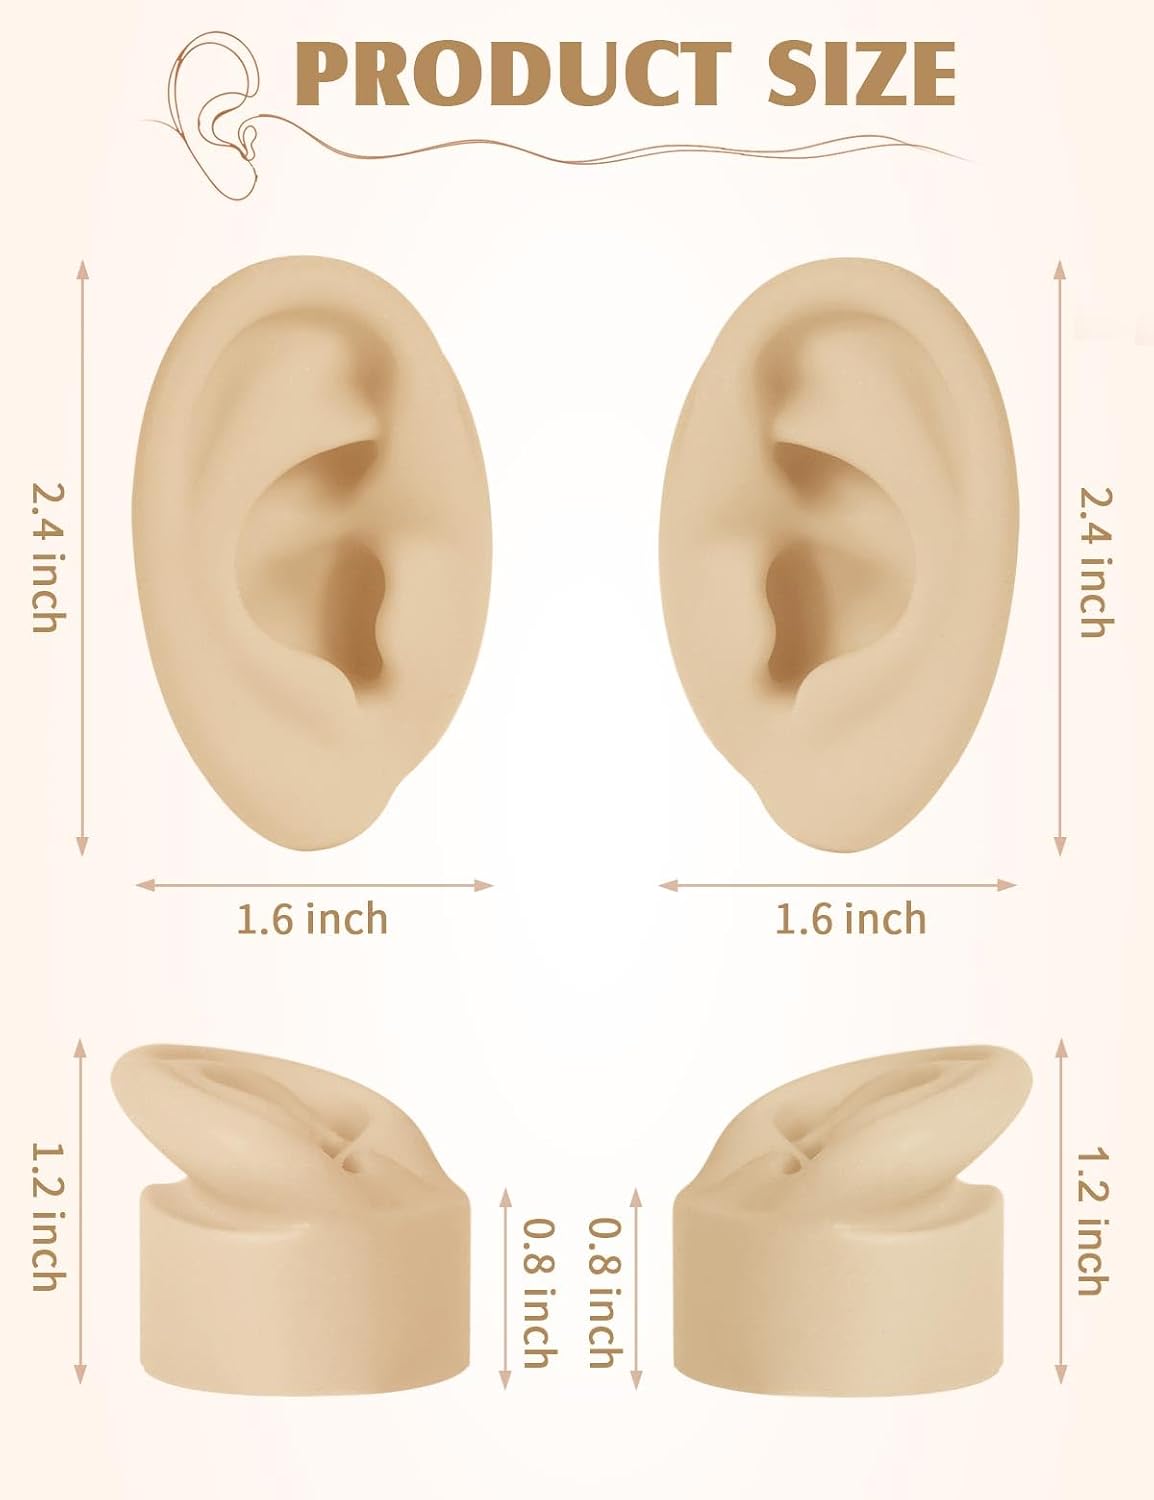 large. I made some ear-lobe soup—just kidding—but I did end up cutting off the lobes. The smaller pair had a substantial base behind each ear, so I cut recesses into the Styrofoam to mount them at matching heights and with similar front-to-back positioning. I did not attempt to create artificial ear canals. Instead, I drilled holes from the rear and inserted the microphone capsules so they sit approximately where a real ear canal would begin. I routed the microphone wires downward from the bottom of the ears, hoping they would not interfere with the headphone pads or compromise the seal. I tested only two headphones before calling it a night: the Drop + Grell OAE1 and the Sennheiser HD560S. I chose them because they are among the few headphones I purchased new and still have their original pads. For each headphone, I made five measurements per side, removing and replacing the headphone between measurements. I then created both vector and RMS averages for each side and used the left and right vector averages to produce the final combined average. I am not certain this is the ideal methodology, but it seemed reasonable and produced consistent results. When I compared my results with measurements of the same headphones available through PEQdB, I found that the published measurements often varied among themselves by about as much as mine did.
Below are a couple of screenshots, along with a gallery showing the rig in its current form, mounted on what began life as a disc-golf disc.
Unfortunately, the way the rig is currently configured means I cannot properly measure IEMs. For that project, I would probably spend the money on a decent calibrated measurement microphone, since it appears that only one microphone would be needed.
Update: I recently tried to revive the fluorescent tube display on my office receiver that was an old Sony STR-1020 but that was not a successful endeavor. So, I had a back up receiver from a thrift store I was holding on to and put it into service. It’s a Onkyo RT-680, if I remember correctly. Having formerly used the Bose AdaptIQ with my Sony receivers, I figured I should give the home made head rig a shot at doing the calibration mic duties using the Onkyo process. I sat the rig on a music stand that put the head about the same height as mine when I am sitting at my desk and ran the process. When Onkyo prompted for the next position, I would slightly adjust the position and continue. I am happy with results but need to do some real 7.1/5.1 testing with a action movie as a real listening test. My speakers consist of mix of Bose 301s with the back surround pair being my 40 year old original purchase in the early 80’s. The front and side surround pairs are Bose 301 series 3 or 4. They were thrift store and pawn shop buys and one needed the speaker cones cleaned to remove some slug trails when I got them. For an office set up these are fine as I tend to be more of a headphone listener when working at my computer. It would be nice to try and run REW to see how well the Onkyo calibration did, but that will be for another day.
Thanks for reading.