I picked up a pair of Pioneer SE-305 headphones at a flea market for $5 a while back. Other than replacing the cable, getting both channels working 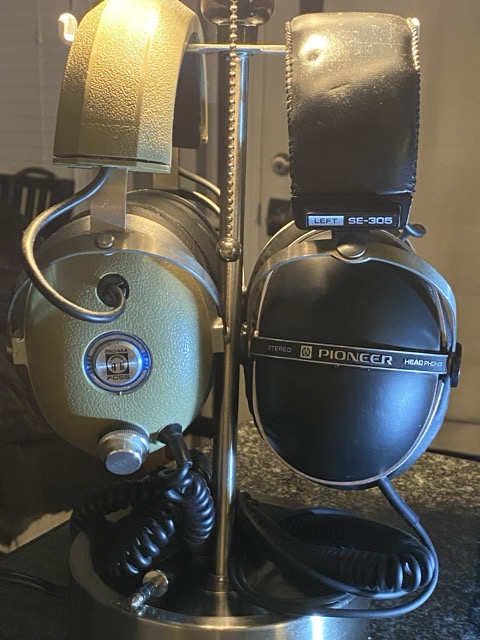 again, and installing new ear pads, they were in decent shape. I listened to them for a while and found that the music that suited them best came from the era they were manufactured—most of the 1970s—which, for me, meant classic rock.
Always looking for a small project, I started watching some YouTube content on swapping drivers in vintage headphones. After poking around on Amazon, I decided to try an inexpensive option that I thought would fit the available space: Elfinear 50mm drivers. Based on the specifications in the Pioneer service manual, the SE-305 sat roughly between the SE-205 and SE-505 models, so I felt this was a reasonable experiment.
Once the pads were removed, opening the headphones was straightforward: three screws per side, then pulling out the plastic driver holder and clipping or de-soldering the wires. The original drivers were glued in place. I used a small razor blade to carefully slice into the glue (see the photo below, where the back of the driver is surrounded by brown-tinted adhesive). By gently pushing the blade in and working my way around the circumference several times, I was able to break the glue bond and free the driver.
There is also a driver cover, which I forgot to photograph during disassembly. Fortunately, I found excellent images in Solderdude’s review of the SE-305 on DIY-Audio-Heaven. I reached out to ask if I could use them, and he graciously shared the images shown below.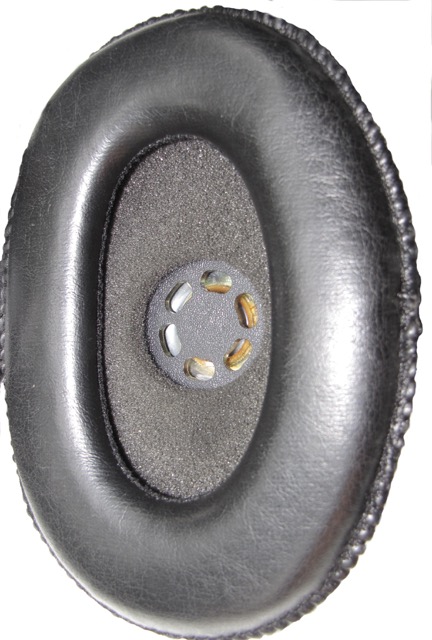
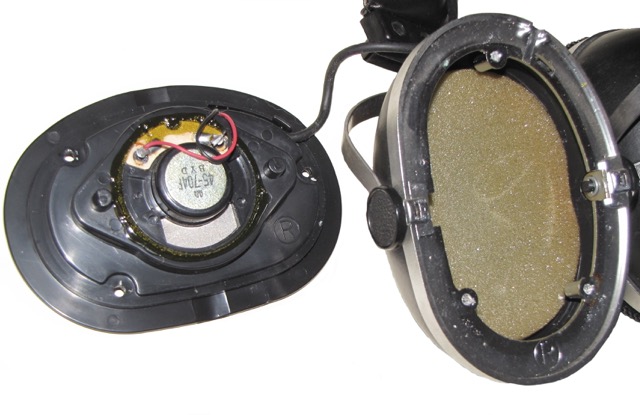
With the old driver removed, the Elfinear 50mm driver turned out to be almost a perfect fit. I ended up super-gluing it over the rear opening of the small mounting plate that originally held the 45mm factory driver (the one with the screw holes at the top and bottom). I reused the original driver cover to protect the front of the new driver. Here are my project photos.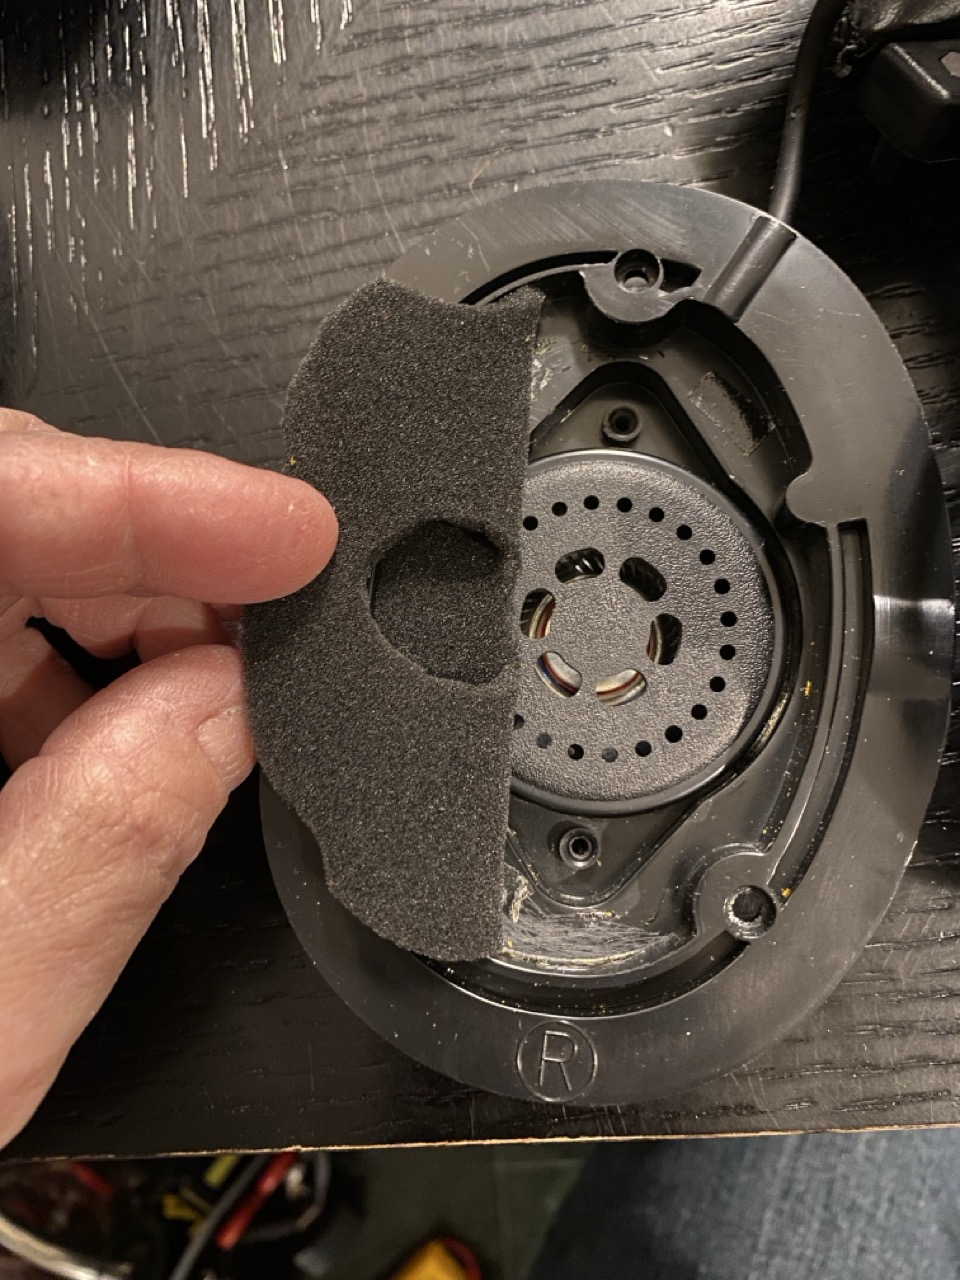
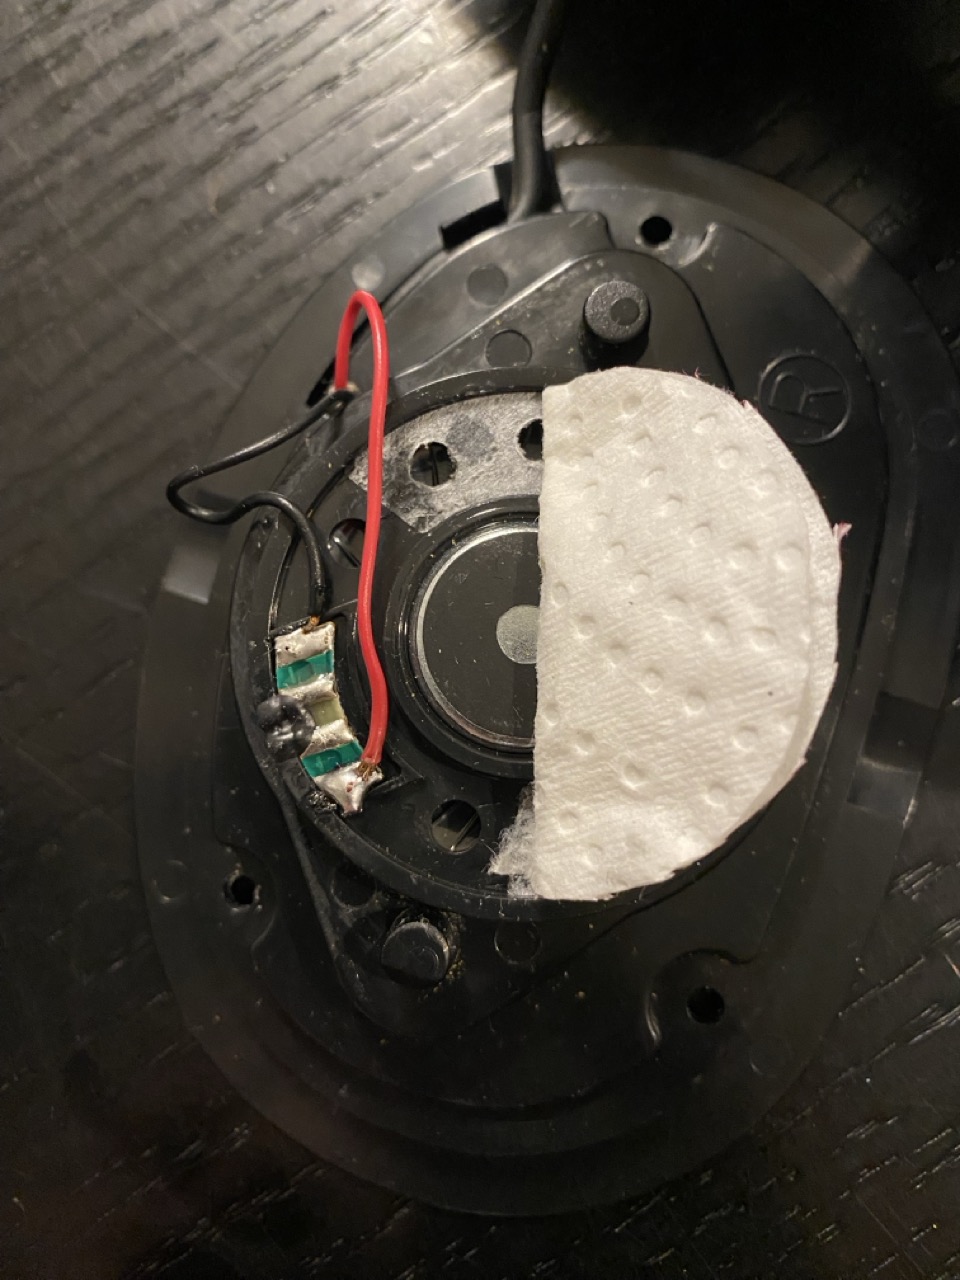
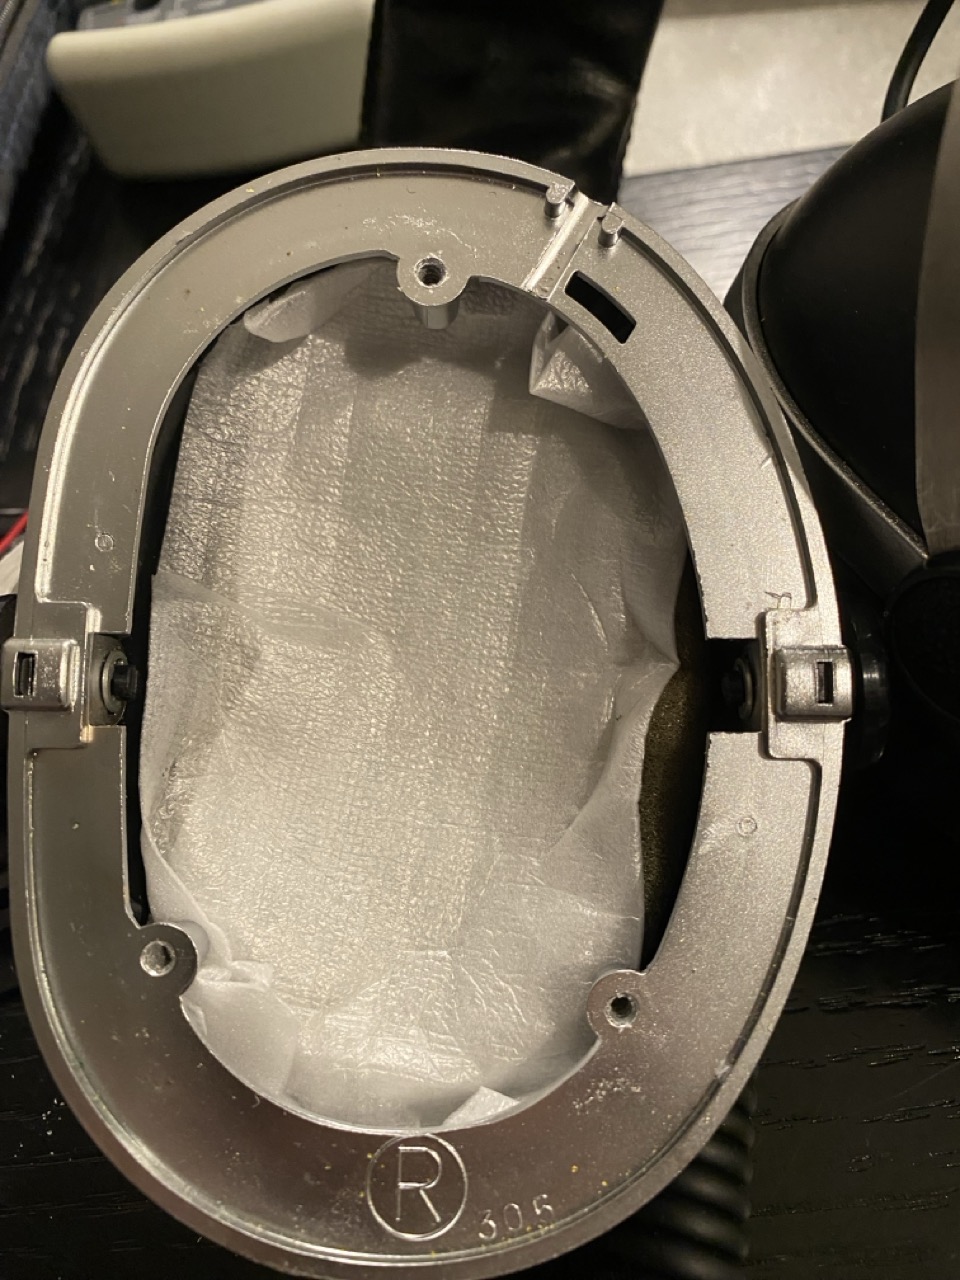

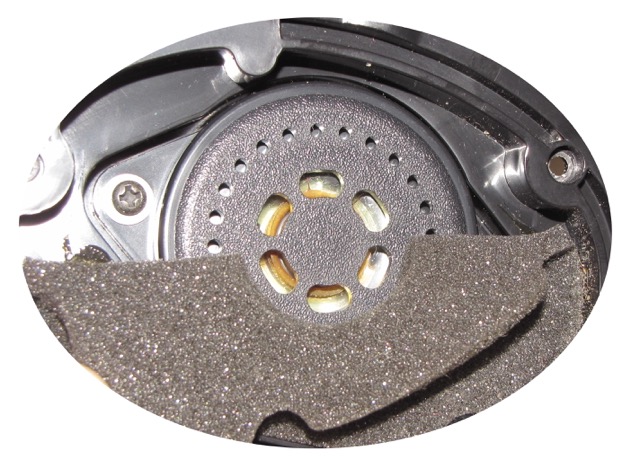
The initial sound wasn’t great. I removed some of the rear filter material over the driver vent holes, hoping it would improve things, but that turned out to be a mistake—the bass became overwhelming. To regain some control, I placed a cotton makeup cleansing pad behind the driver. It’s shown folded over and was flattened out and secured with double-sided adhesive tape. I also added some thin white closed-cell foam inside the ear cup. The final step was replacing the deteriorated foam on the front side of the driver mounting plate.
These aren’t going to win any contests for sound quality, but the refresh was needed. The original foam had disintegrated, and the old driver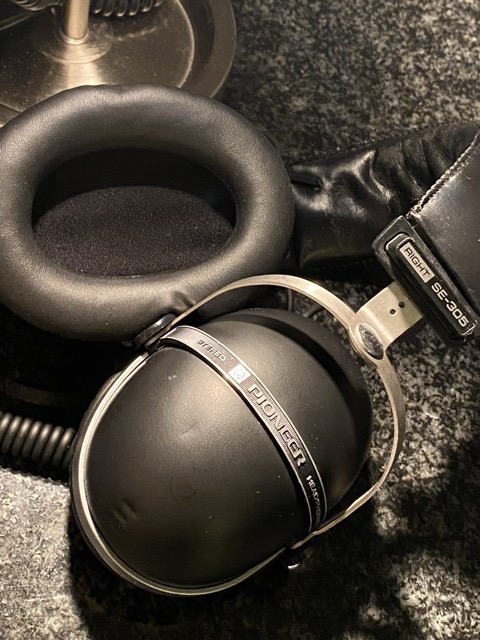 material had become sticky over time. While gathering images and writing this post, I spent about an hour listening to them with the new drivers. There was a bit of ear gain, so I used the Subsonic player EQ and made only a couple of small adjustments, pulling the mids down about -3 dB from 1 kHz to 2 kHz. The longer I listened, the more the faults faded into the background, and overall the sound ended up being better than it was with the original drivers.
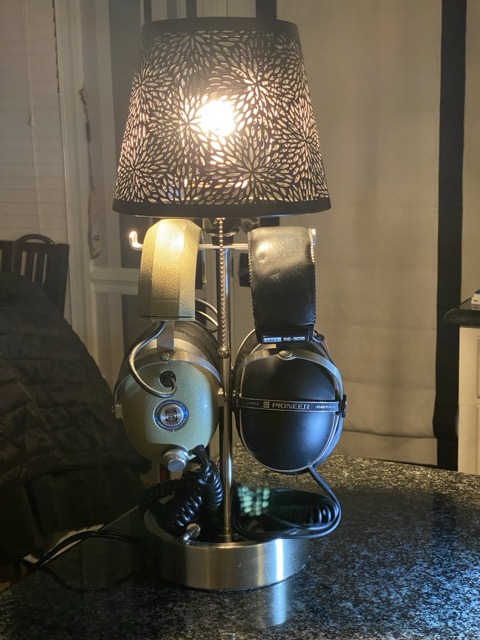
Here are the headphones on a stand I repurposed from a night stand lamp which might be the subject of another post as I have a variation of this one and few more made with wooden bases with metal headphone supports.